
Presentation: Kubernetes in 5 minutes
SUSE Hackweek 2019 – The demo
The project was done using Three.js https://threejs.org/ . which is a JavaScript library for 2D and 3D objects and animations using WebGL and other renderers.
This is the final result: https://thesusedemo.desarrolloproyectos.com/
For lightwright computeres, it’s possible to watch the demo as a pre-rendered video in Youtube
This video shows the making-of with some details of the implementation:
The music is original and composed by Jose Lausuch using Cubase and some VST libraries, specially some owned by ReFX Nexus: https://refx.com/
SUSE Hackweek 2019 – Cheap motor foam plane
I would like to convert a very cheap foam toy plane into a radio control plane
Materials
- The foam plane (2 euros)
- 2 Micro servos
- Very small motor
- 2 Amp motor controller
- A RC receiver and a transmitter (of course)
- Some wood
- And thin carbon tubes
The most important here is to ensure:
- It can fly
- The final weight of the plane cannot be too much
- Respect the current mass center
PROCESS
The first concept is to understand that the most important in a plane is how many grams per cm2 of wing. This is crucial because if you have to support more grams you’ll need more speed.
For instance the plane weight is 45 grams. The both wings surface is 342 cm2. Then each cm2 has to support 5.3 grams per cm2
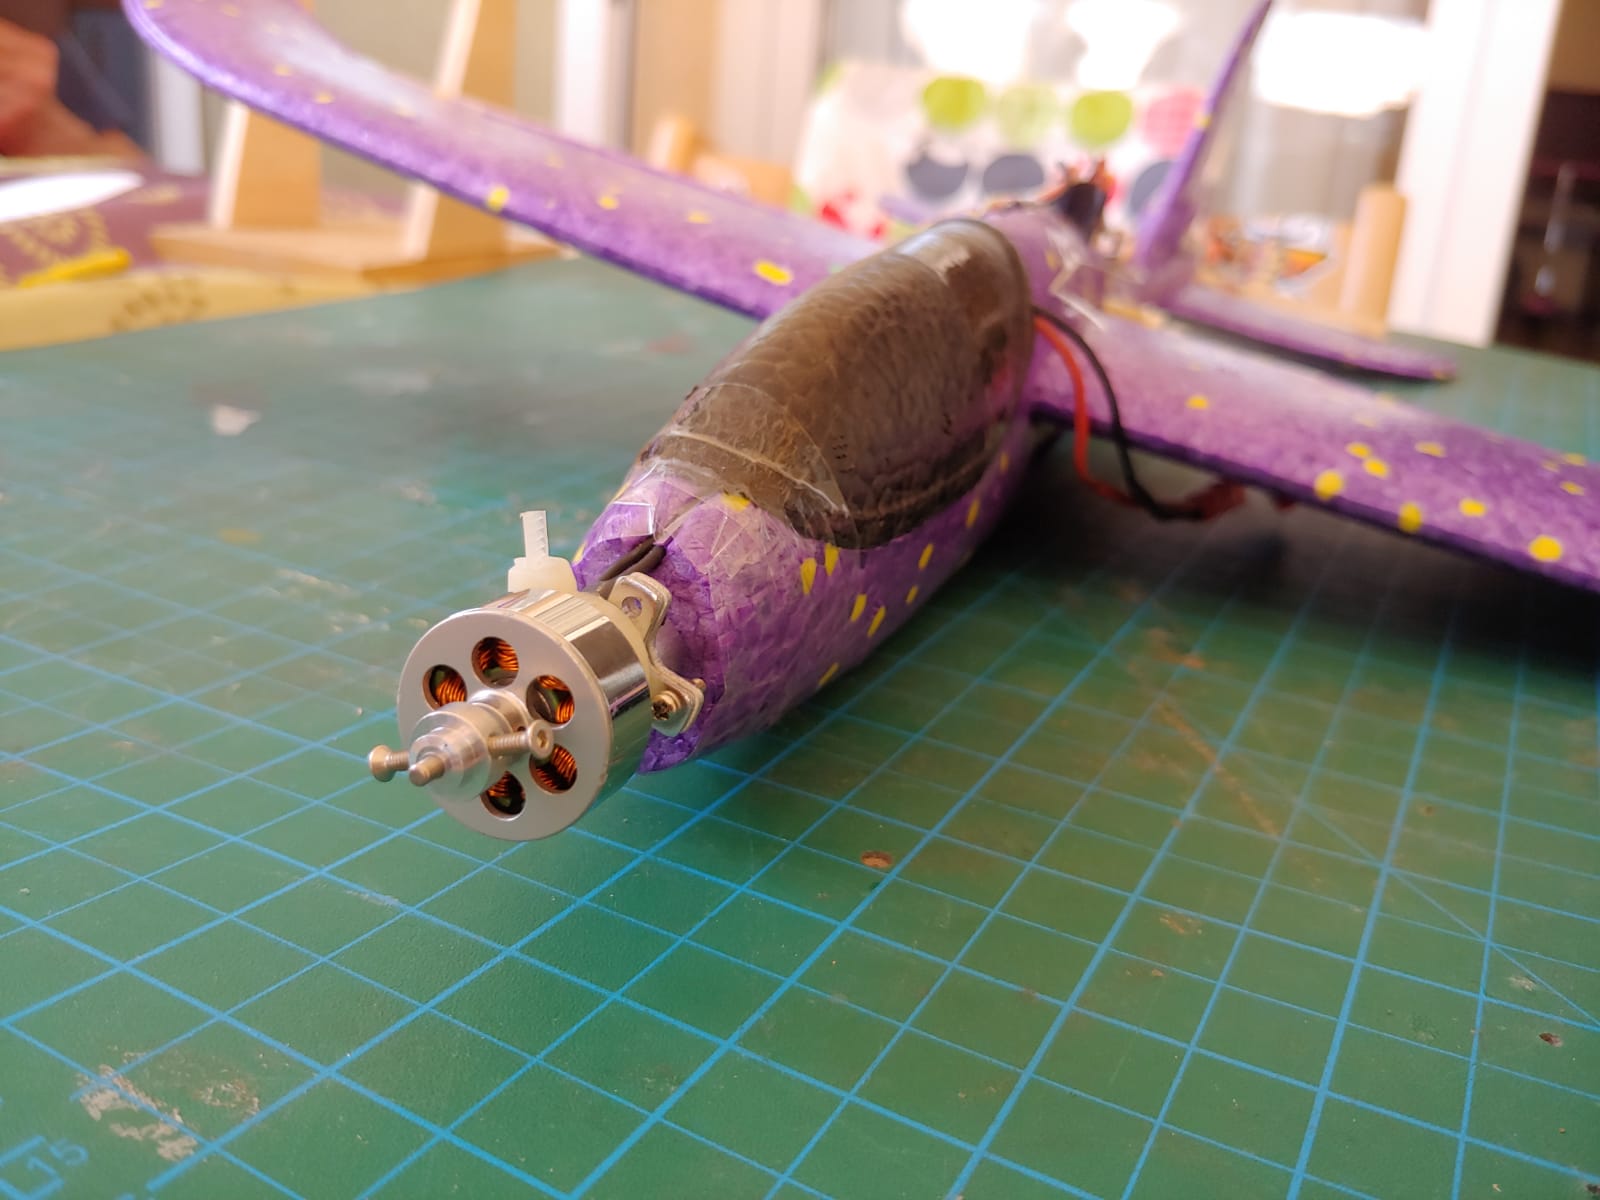
So, as consequence of that is very important to choose the correct motor. The motor has to have the enough power to impulse the plane with the require speed to create a pressure in the wings to maintain the weight. If we choose a small motor, it is not going to achieve the required speed. If we choose a better motor is going to be bigger and the weight of entire plane is going to increase. But also related is the battery. A bigger motor requires a bigger battery to ensure enough flying time and also the enough discharge capacity to supply the intensity that this motor is going to require.
- Motor with controller: 30.5 grams
- Battery 45 grams
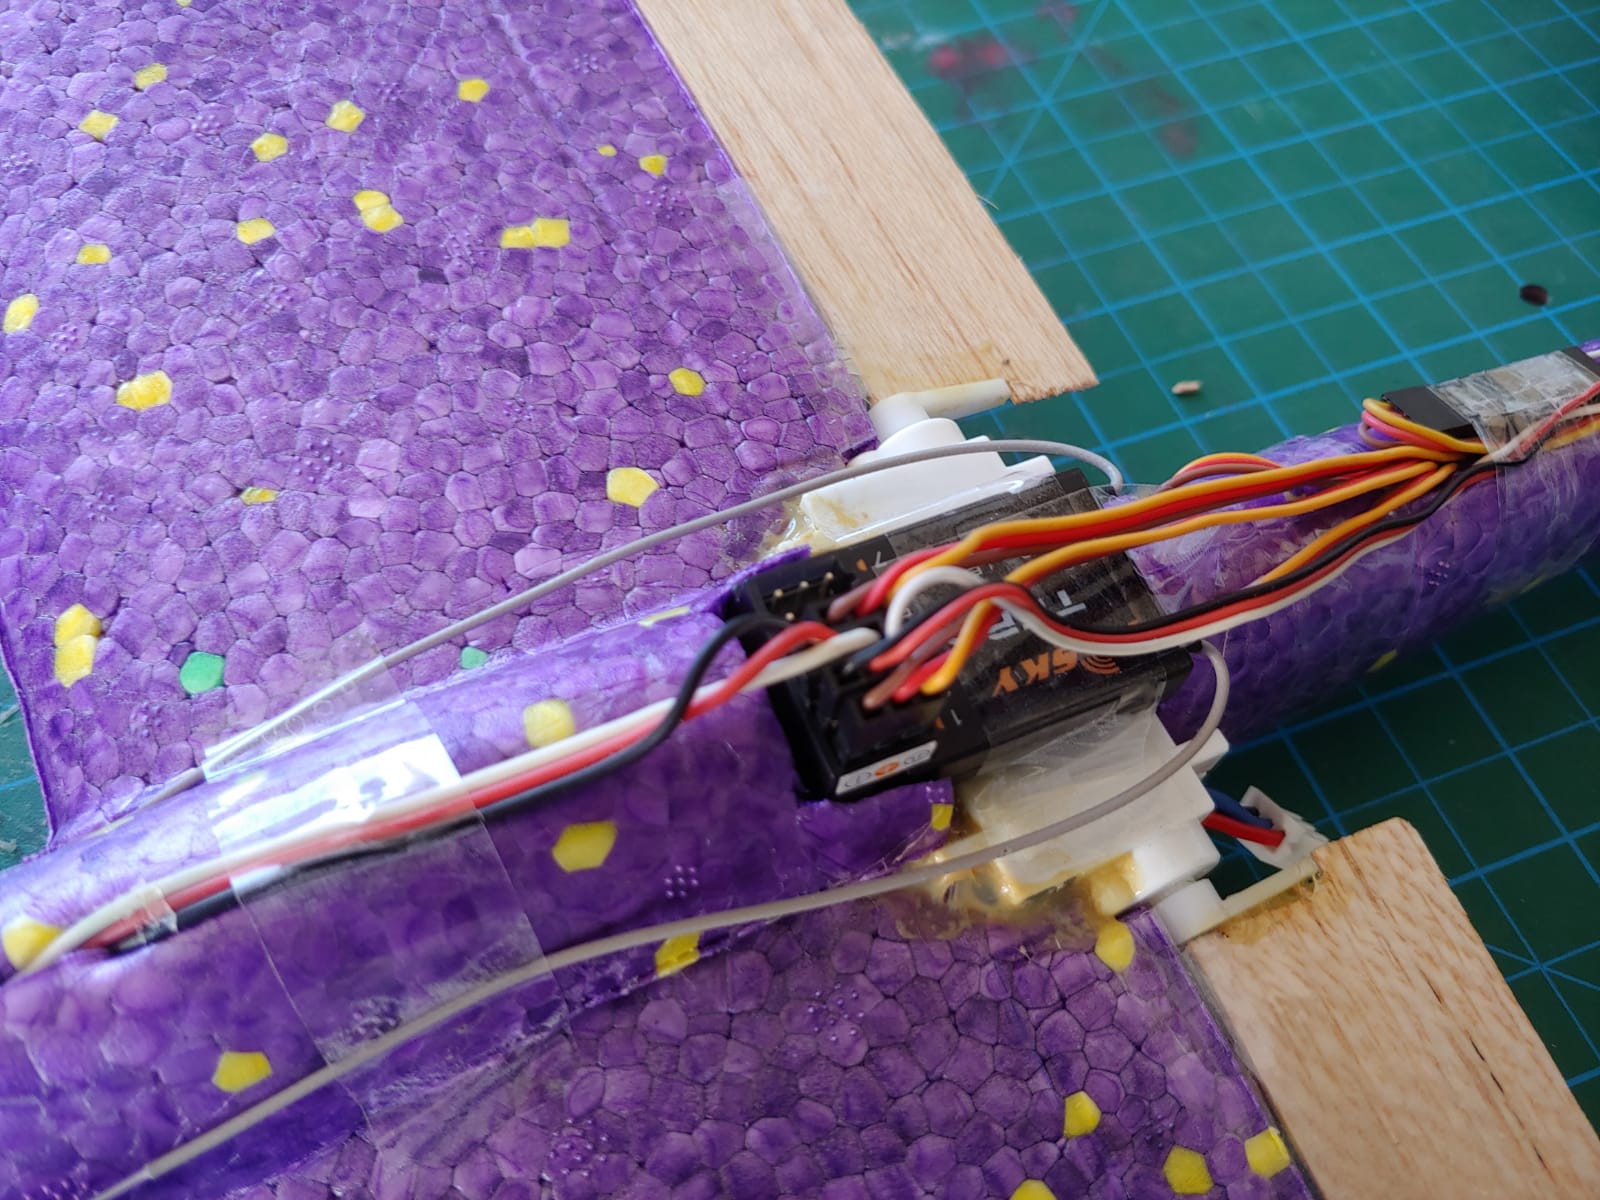
- Servos: 2 of 8.8 grams and other of 5.7 grams
Then the selection means extra 98.8 grams. But the plane has to plumbs to stabilize that we can remove (18.8 grams). then the final result is extra 80 grams
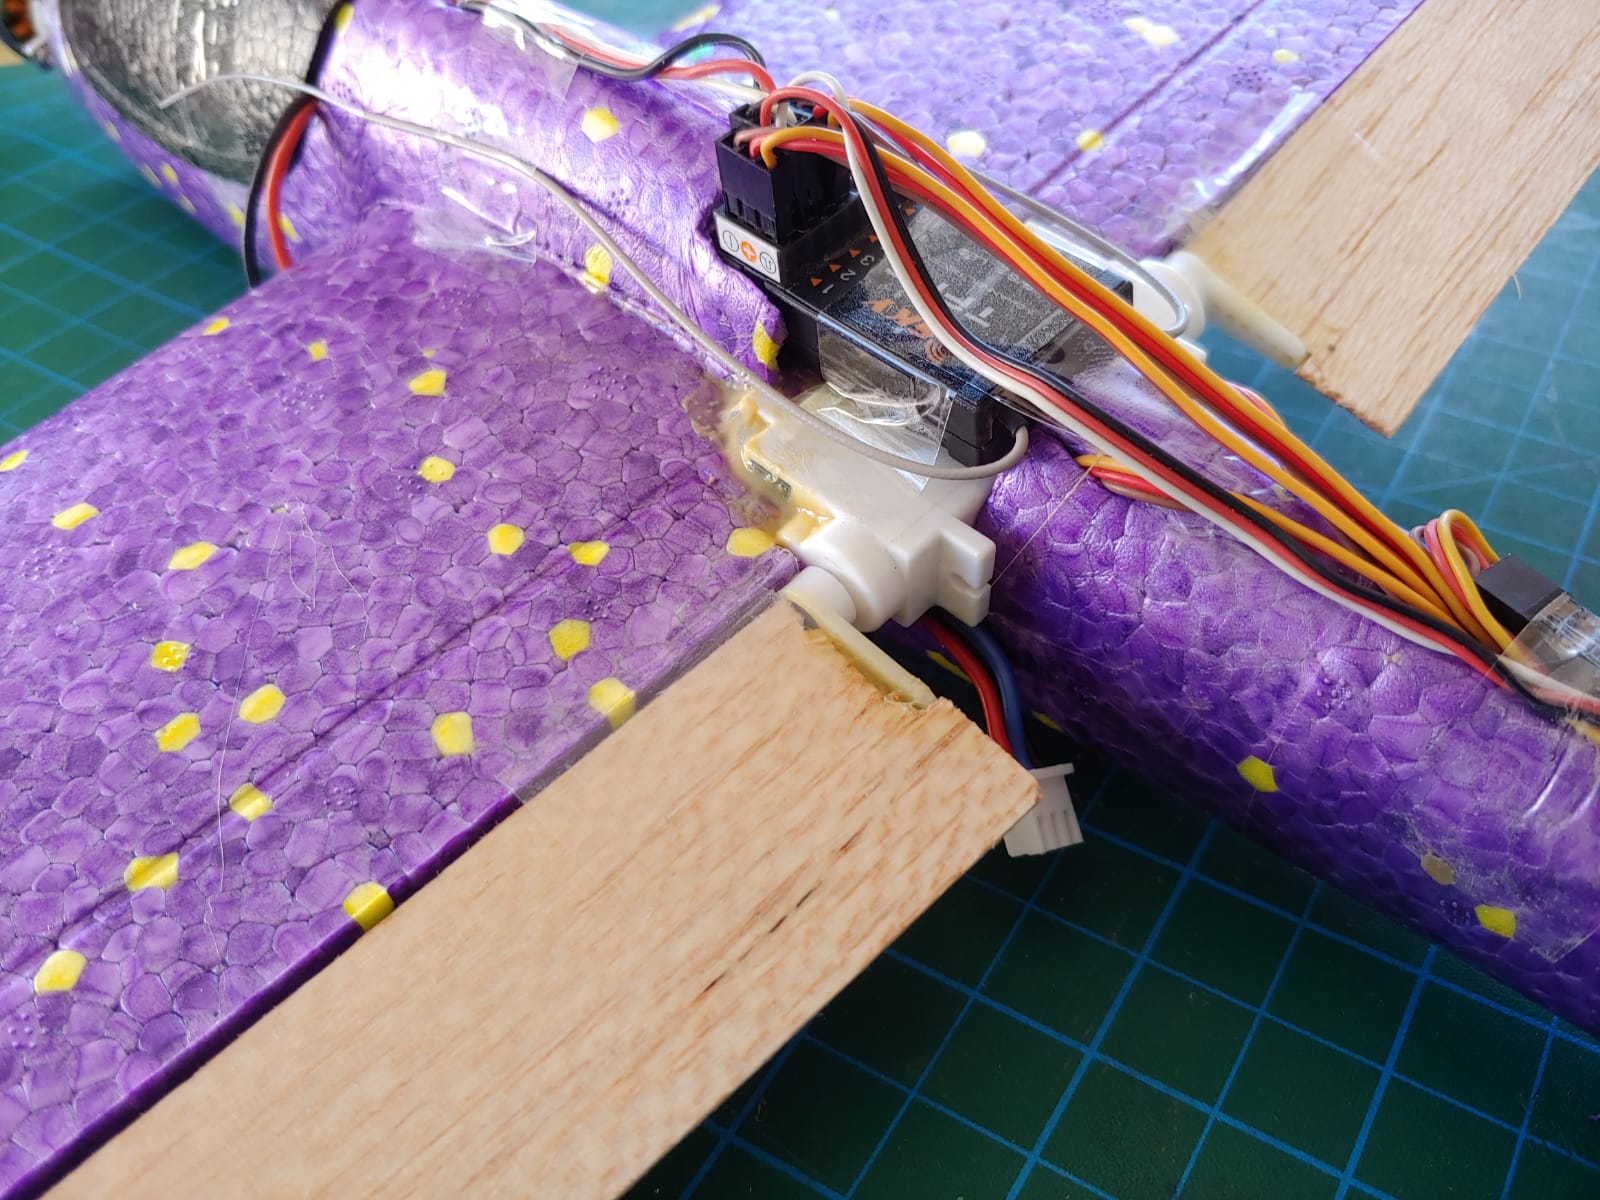
The second concept is where to put the things, because we have to respect the mass center should be at 1/3 of the beginning of the wing. To ensure that before doing nothing to the plane, I measured it using a home-made balance. Of course the motor should be placed on the front. But we can remove one or two centimeters of the nose of the plane to move the weight to the wing. After that the position of the battery should be the last step because is the heaviest element and is going to determine the mass center.
RESULTS
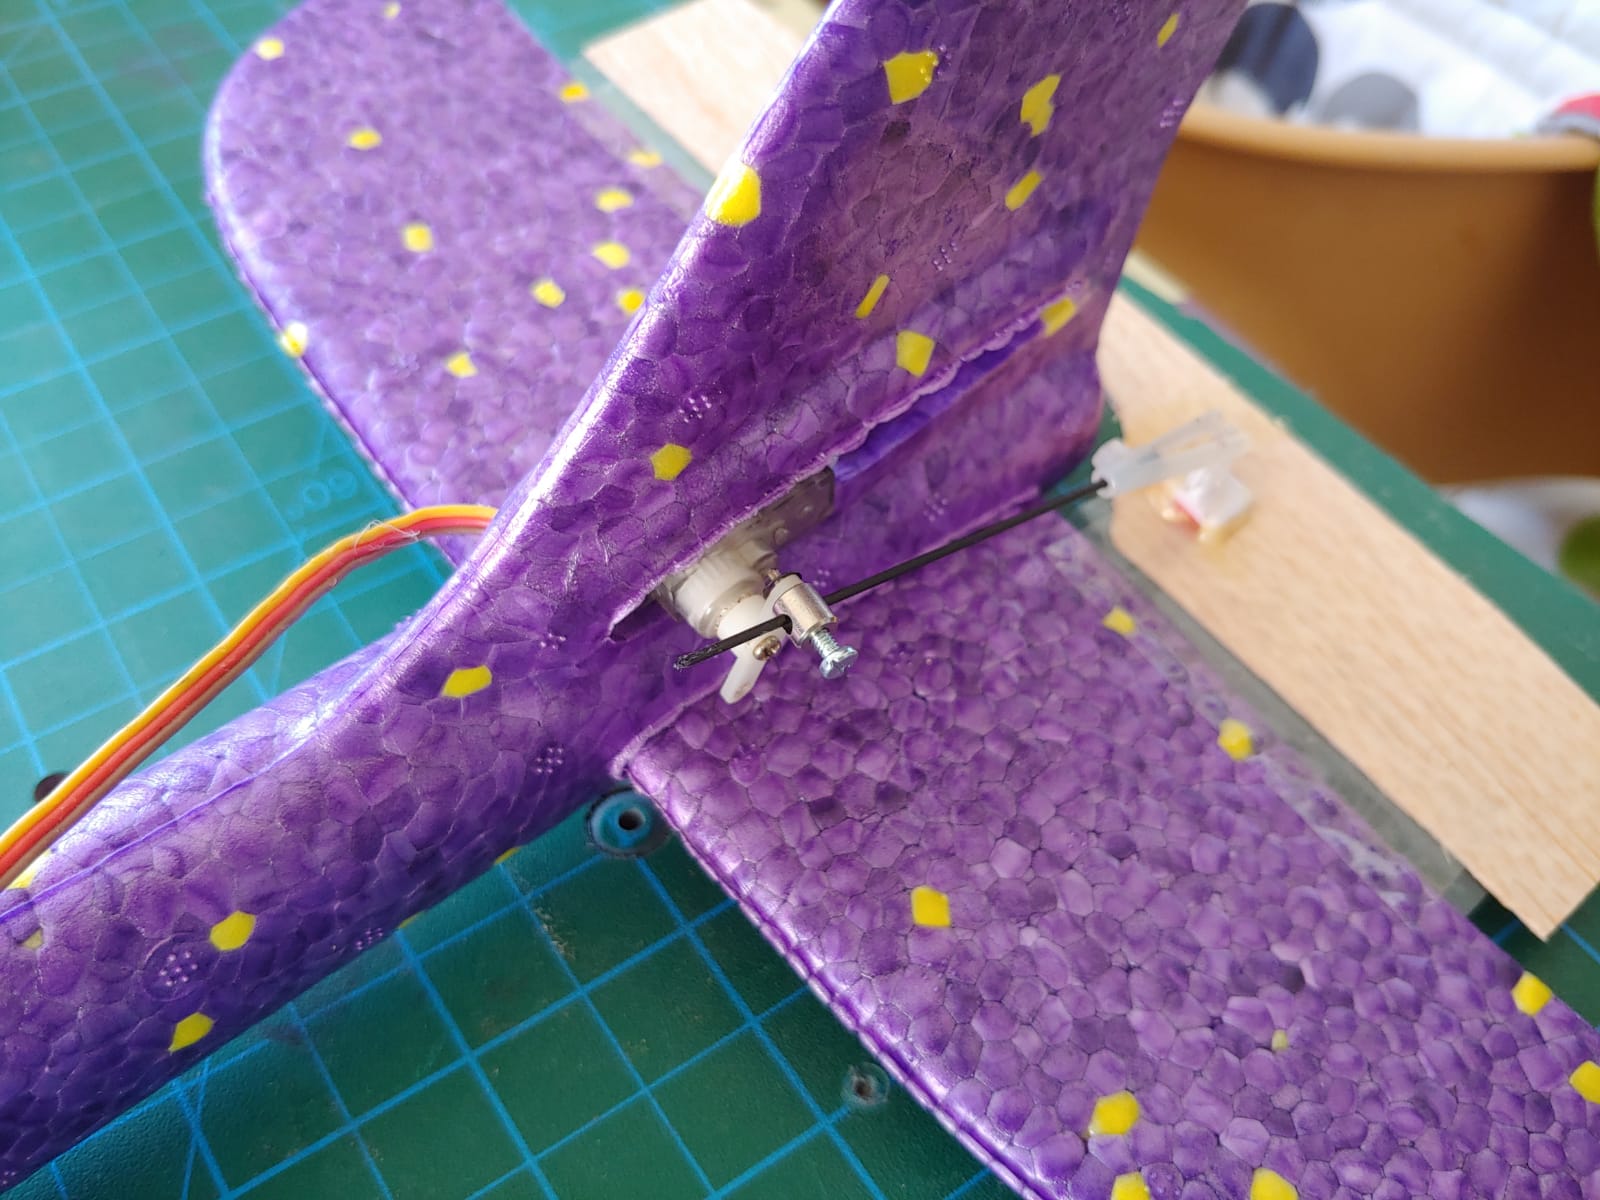
This is the final result.
I also included a big aileron to increase some wing surface

STEM Workshop in Montessori School: Robotics
During the previous Hackweek (SUSE) I did a workshop in a Montessori school. This time I would like the same but with focusing on Robotics.
Who is this for?
Children between 2 and 6 years old
What will be the duration?
1 hour
Where?
In a Montessori school
What materials I am going to use
- Bee-bot robot or similar
- Edison robot (https://meetedison.com)
- Some home made robots
What concepts do I would like to teach:
The programming basics
- Concepts of program and programming
- How to split a problem in small parts and basic actions
- Concept of execution
- Concept of debugging
- Usually there are more than one solution to solve a problem
What is an artificial sensor?
- To be a blind robot
- What it can do if it has some sensors
- Ultrasound echo
- Infrared echo
- Infrared vision
- Microphone sensors
RESULTS
Students were very interested in all examples and demonstrations. They participated in some of them.
I tried to explain all the mentioned concepts, and in spite of the complexity they understood pretty well
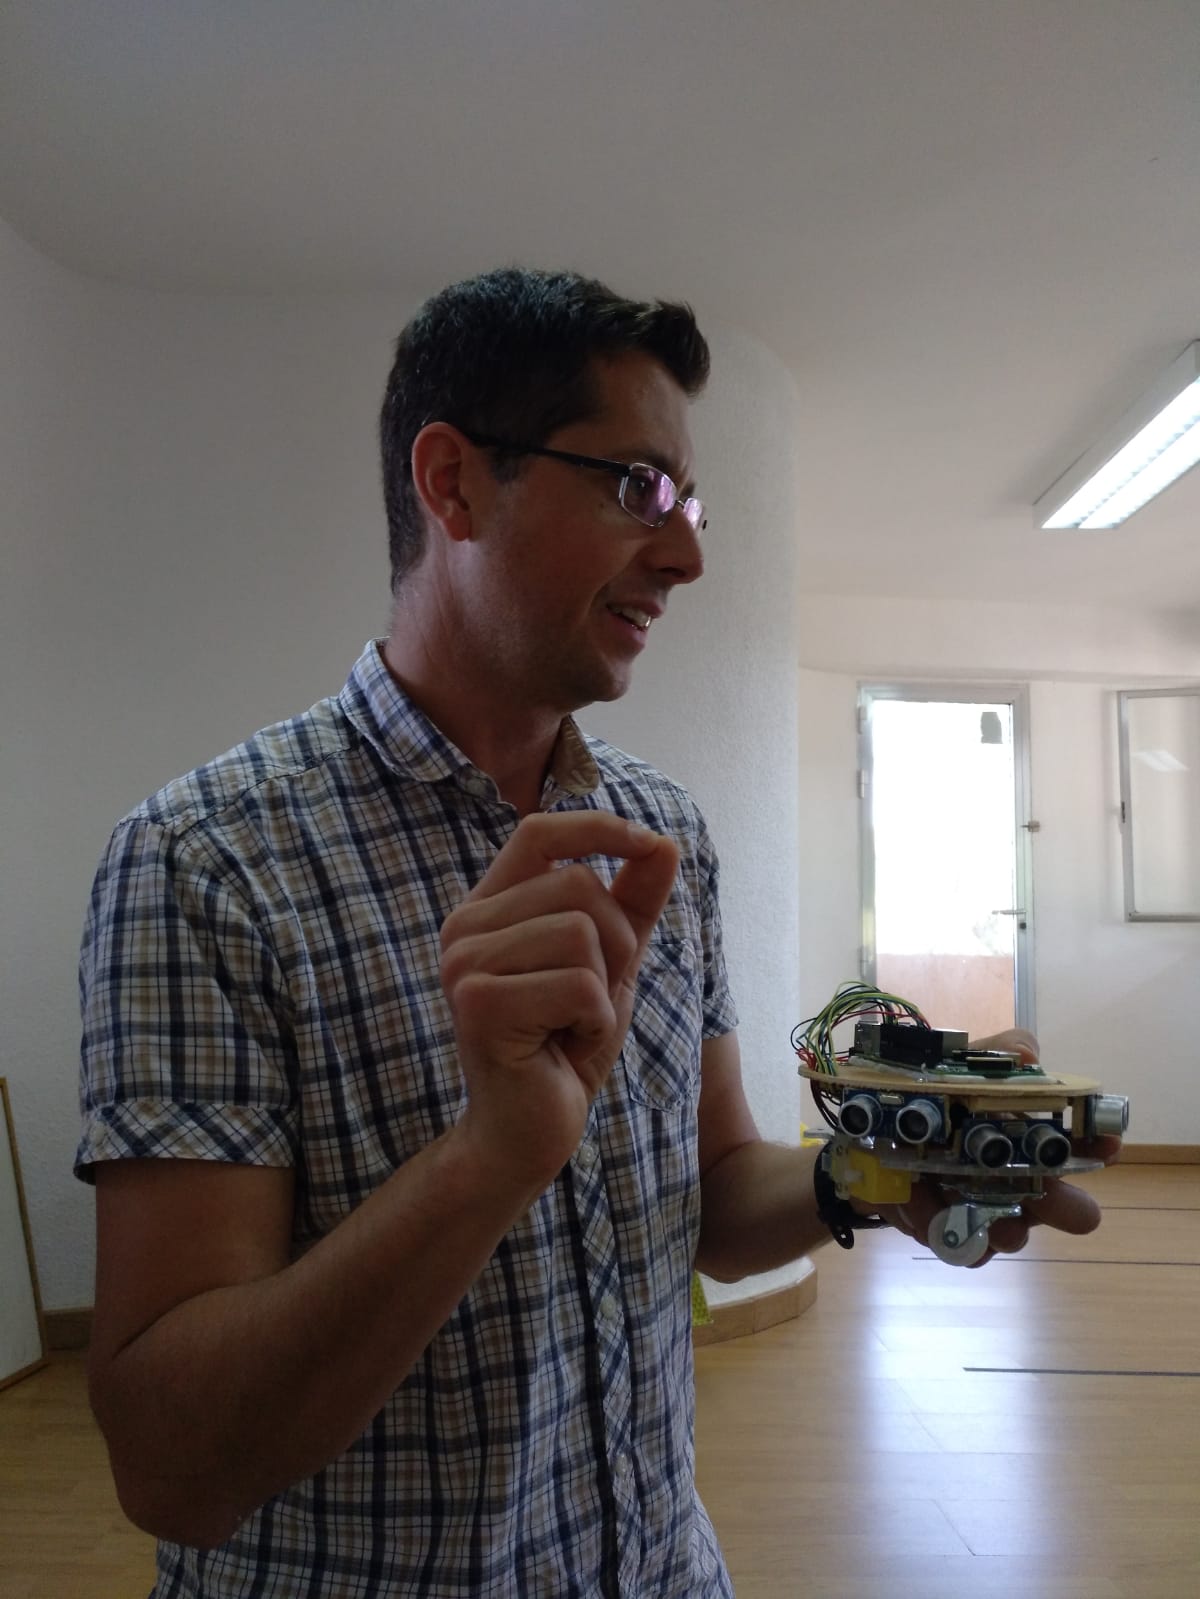
And I also introduced other robots like the one is in the photo with 4 ultra sound sensors, or an robotic arm with 6 movements.
SUSE Hackweek 2018 – The suse game
Robotic SUSE mascot – Video
Robotic SUSE Mascot – Part 4. Brain & Code
Please visit Part 3 – Electronics
With Arduino it is very easy to move a servo to any position between 0 and 180 degrees. You only need to connect the input signal of the servo to a PWM output of the Arduino. In fact, there is a library included to move servos.
Continue reading “Robotic SUSE Mascot – Part 4. Brain & Code”
Robotic SUSE Mascot – Part 3. Electronics
Please visit Part 2 – Design & sckeleton
The connection pin scheme for Arduino is:
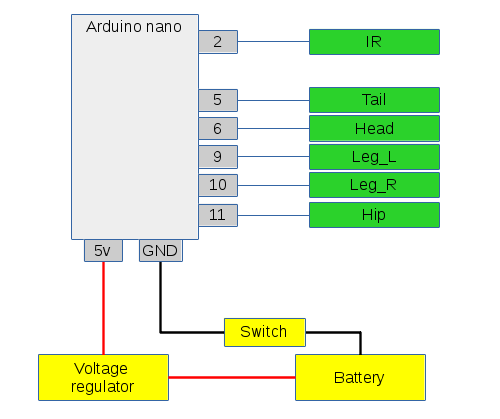
Continue reading “Robotic SUSE Mascot – Part 3. Electronics”
Robotic SUSE Mascot – Part 2. Design & Skeleton
Please, visit Part 1. Introduction if you haven’t read it yet.
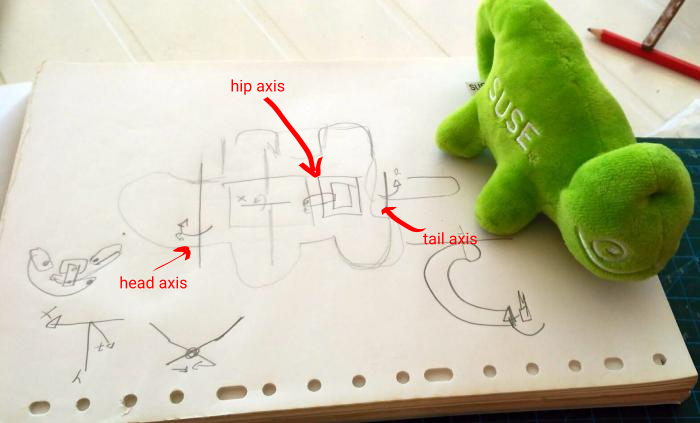
Scheme
First, we did some brainstorming about how to make the mascot walk. We thought that the best option was to build balanced hips. It moves up one leg and rotates it forwards without friction. Then it moves it backward at the same time the other leg moves forward.
Continue reading “Robotic SUSE Mascot – Part 2. Design & Skeleton”